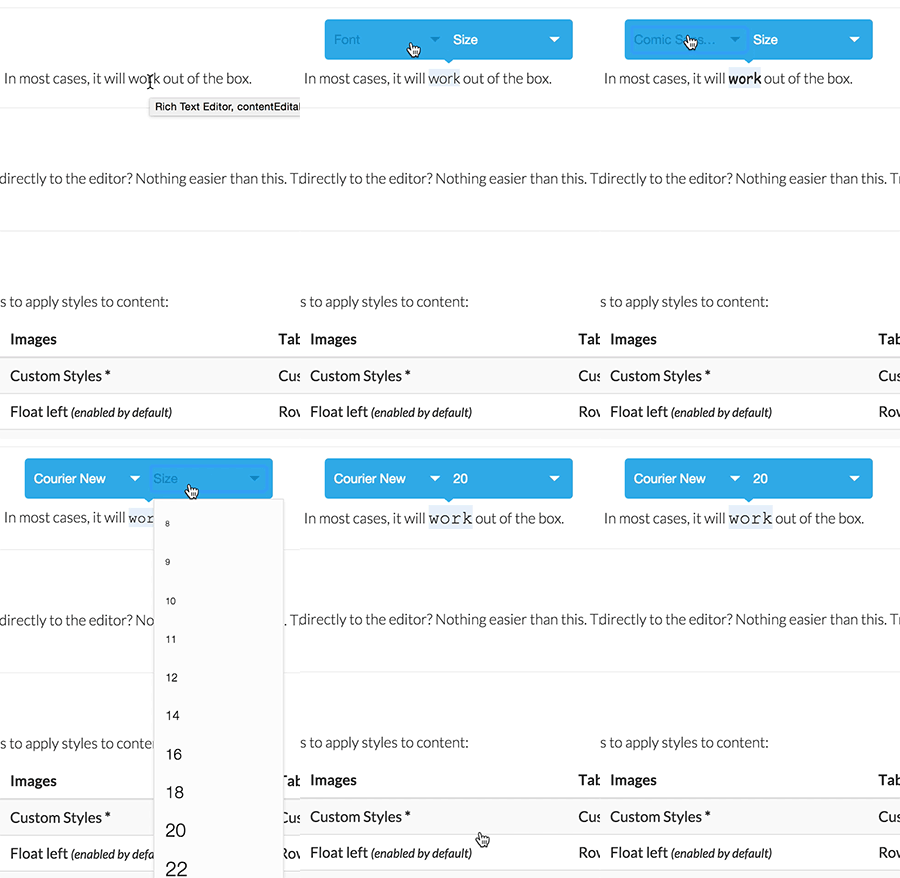
Some CKEDITOR plugins add buttons through their UI. This tutorial shows how to use this kind of plugin.
'font' Plugin example
Download font plugin, and paste it into the plugins folder:Note: Keep in mind, if this plugin has dependencies, you need to download and configure them as well.
AlloyEditor Configuration
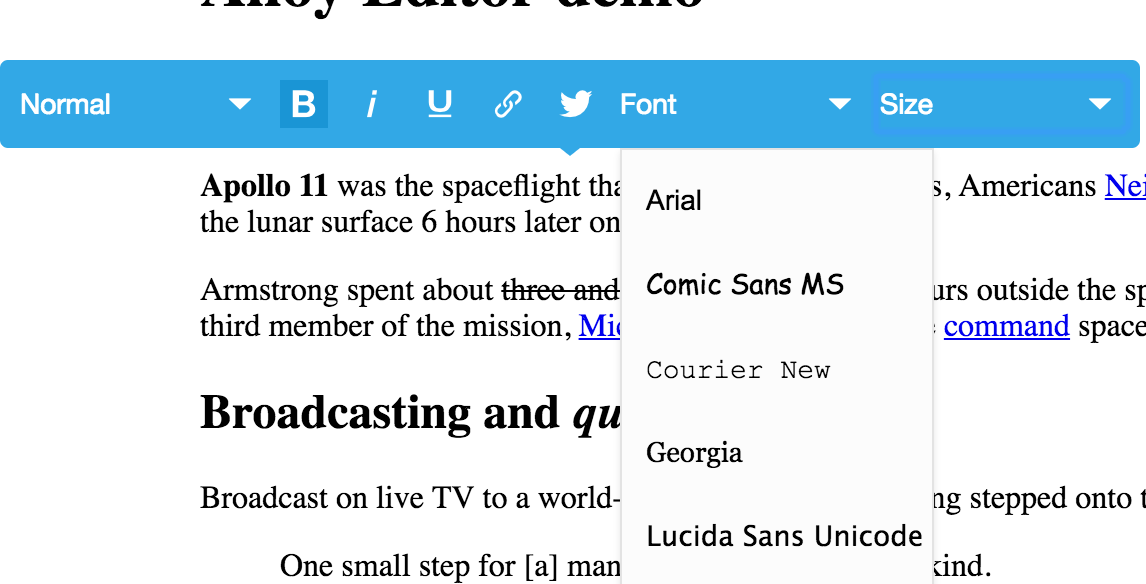
Our UI bridges make it easier for you to use CKEDITOR plugins. You just need to add the required plugins to the extraPlugins configuration and retrieve its buttons using AlloyEditor.getButtons(['PLUGIN_NAME', MORE_BUTTONS]):
  AlloyEditor.editable('MyEditable', {
    extraPlugins: AlloyEditor.Core.ATTRS.extraPlugins.value + ',font',
      toolbars: {
        styles: {
          selections: [
            {
              name: 'text',
              buttons: AlloyEditor.getButtons(['font']), //['FontFamily', 'FontSize']
              test: AlloyEditor.SelectionTest.text
            }
          ]
        }
      }
    }
  );
If you want to add custom buttons to text selections, you can add them like this:
buttons: AlloyEditor.getButtons(['font', 'bold', 'italic', ...]),If instead you want to add custom buttons with the existing buttons, you can add them like this:
  var selections = AlloyEditor.Selections;
  var textButtons = selections[3].buttons; // ['styles', 'bold, 'italic', 'underline', 'link', twitter']
  var customButtons = textButtons.concat('font'); // ['styles', 'bold, 'italic', 'underline', 'link', twitter', 'FontFamily', 'FontSize']

  selections[3].buttons = AlloyEditor.getButtons(customButtons);

  AlloyEditor.editable('MyEditable', {
    extraPlugins: AlloyEditor.Core.ATTRS.extraPlugins.value + ',font'
    }
  );
Use moono skin for visual compatibility
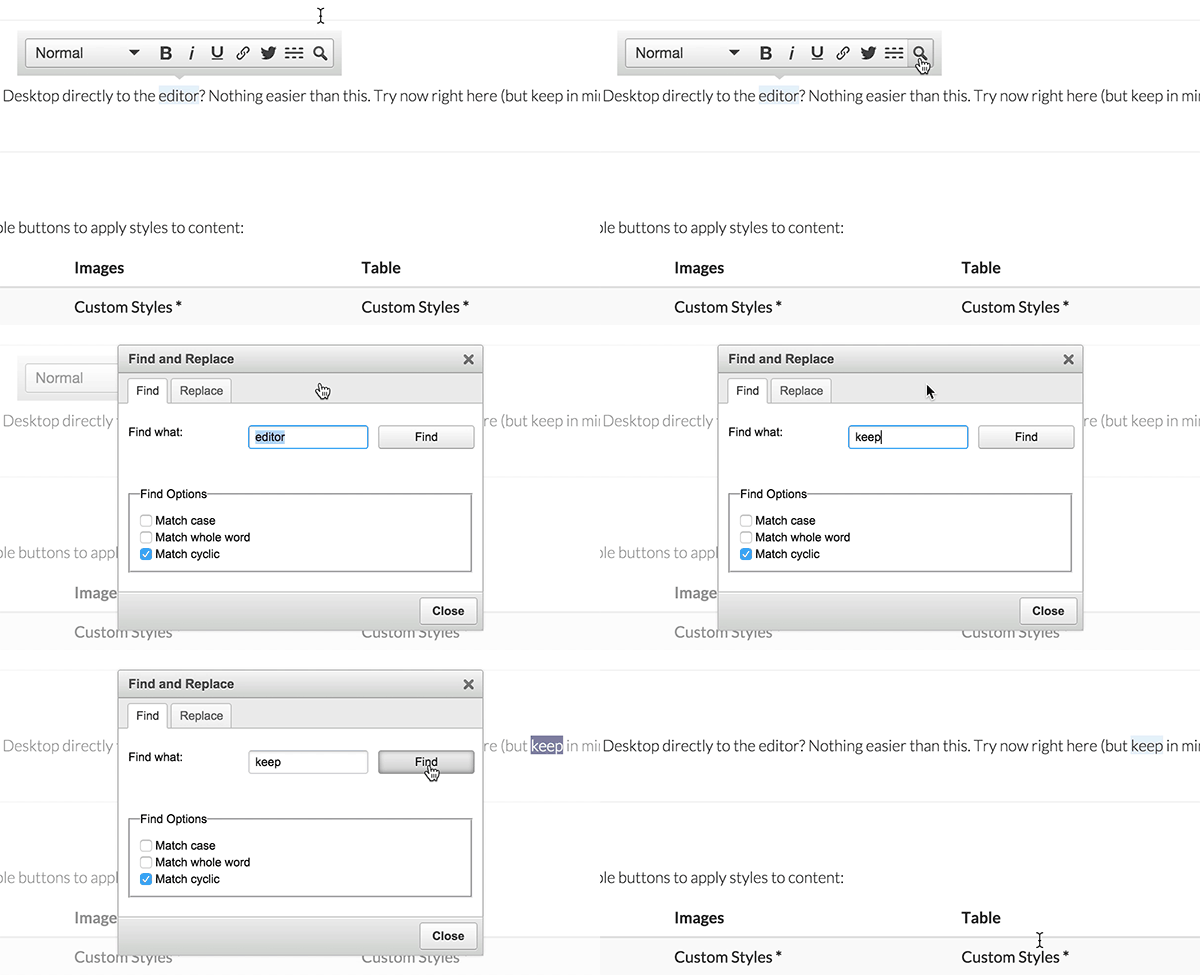
AlloyEditor's UI Bridge is in its early stages, so there are still some uncovered areas. For example, dialogs are not converted and will still appear with CKEditor's default look and feel.
Use the new moono skin to close the gap between AlloyEditor's default look and feel and CKEditor's look and feel:
<link href="alloy-editor/assets/alloy-editor-moono-min.css" rel="stylesheet">
